Sewing patterns and tutorial
Body gifts: Little Red Infinity Dress Tutorial
To make your straps, you need to decide how wide to make them. To cover your bust, measure from your breastbone, over the fullest part of your breast, and to the middle of your underarm. Mine is 11″ (yes, I have gigantic hooters).
To determine strap length, you need to make them 1.5 times your height. It’s daunting, but doable! I’m 5’5″, which is 66″. 1.5 times 66 inches is 99 inches, but I just rounded up to 100.
So, got that? You need 4 measurements: waist divided by 6.28, length of skirt, width of straps, and length of straps.
To make your pattern, get packing paper, freezer paper, or a bunch of pieces of computer paper taped together. Start at one corner and measure down the first number you came up with for your waist. Mine is 4.5″ so I made a curved mark 4.5″ from the corner. Do this with the old pencil-on-a-string trick, or make a series of little marks and connect them with a line.
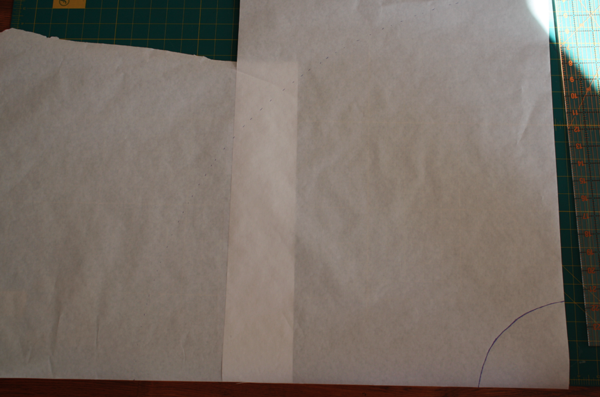
Then I measured 18″ down from that and made another line for my skirt length.
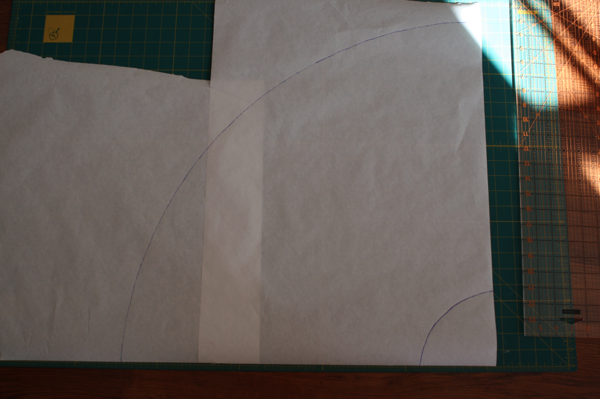
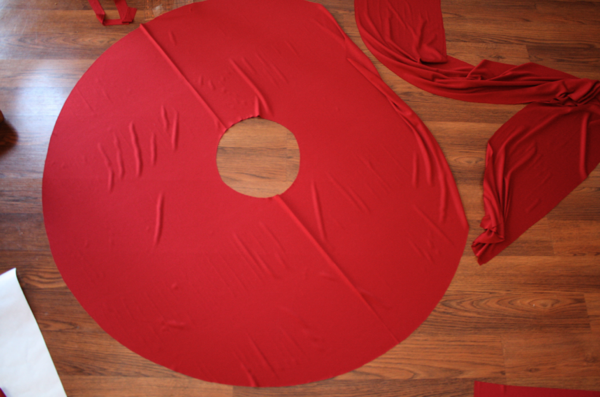
Cut out on your lines. You’ll have 1/4 of your circle skirt.
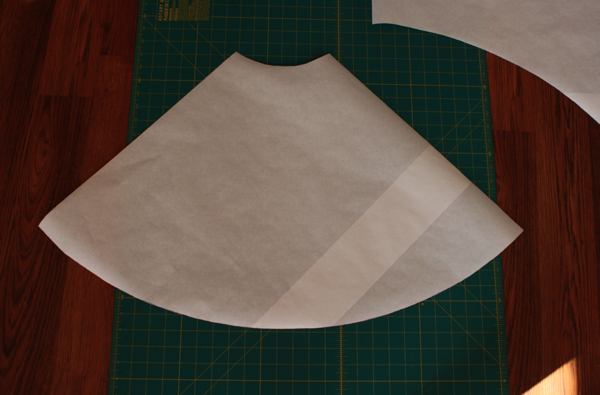
Now, keeping your fabric folded in half with selvages matched, fold the fabric in from the end so it’s doubled on itself. Place your pattern so the 2 straight lines match up with the edges.
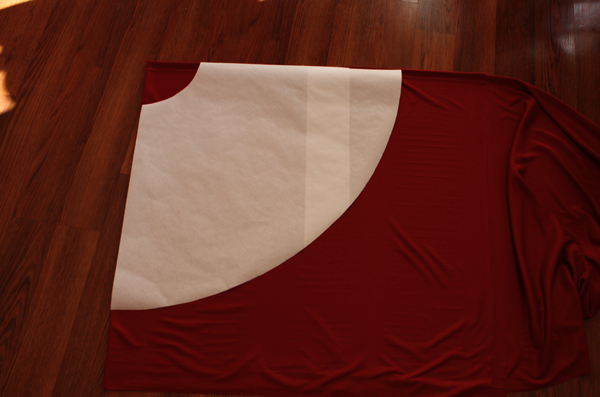
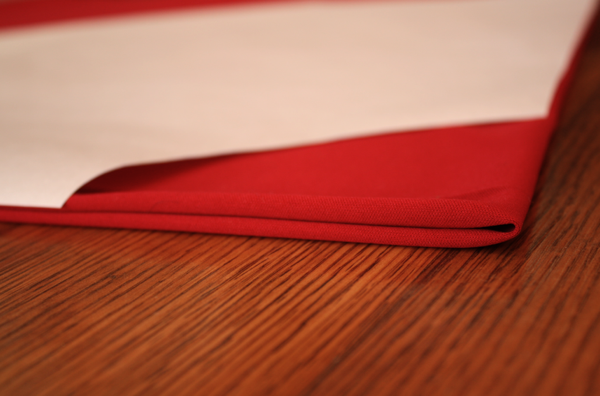
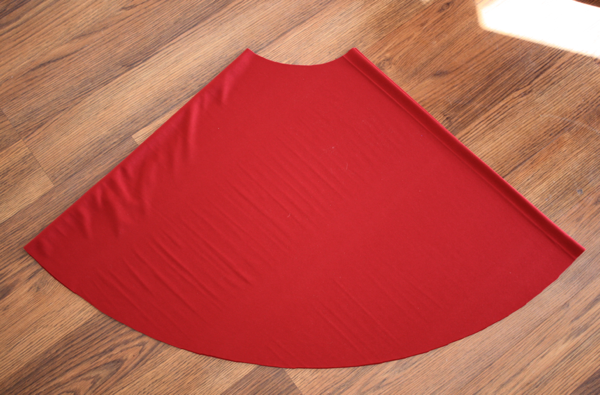
Next, cut a waistband 10″ tall and the length of your waist you measured. So mine was 10″ by 30″. (In the picture mine is longer than 30″ but trust me on this! Make it the length of your waist measurement!)
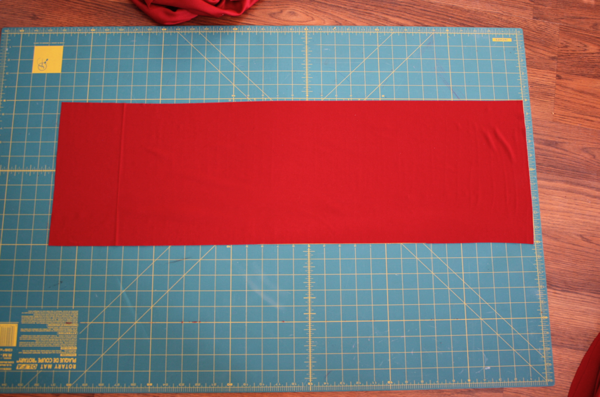
Next you’ll have to cut your straps. You’ll need to lay your fabric out flat somewhere (and it’s 3 yards for me, so quite a bit of space!) to cut them all at once.
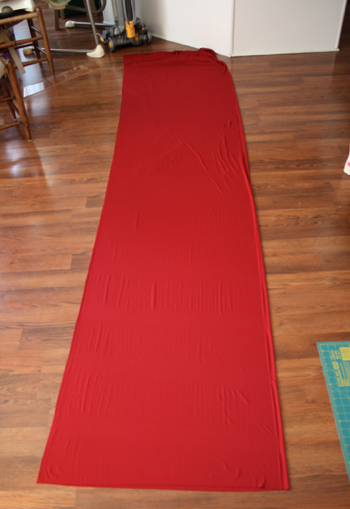
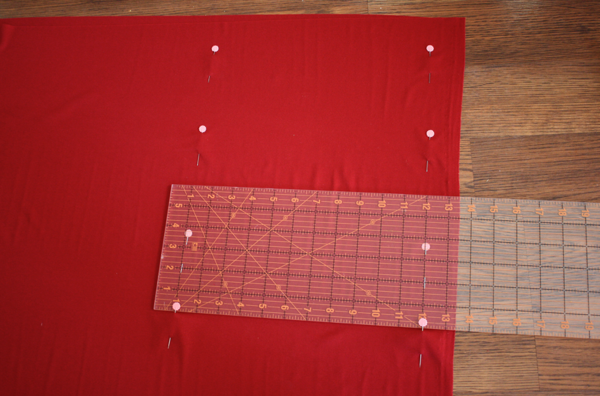
I kept my fabric folded in half so I could cut both straps at once. I took my ruler and placed pins 11″ apart, every 2″ the length of the fabric. Well, 100 inches of it, anyway!
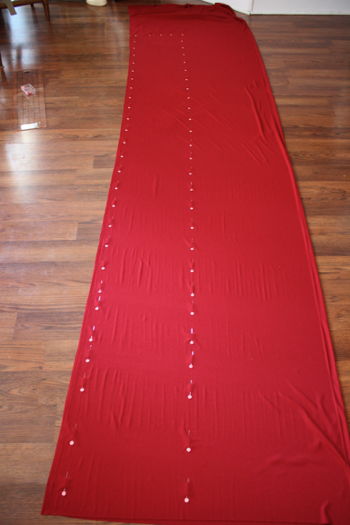
Then I cut along the pin lines to get my straps.
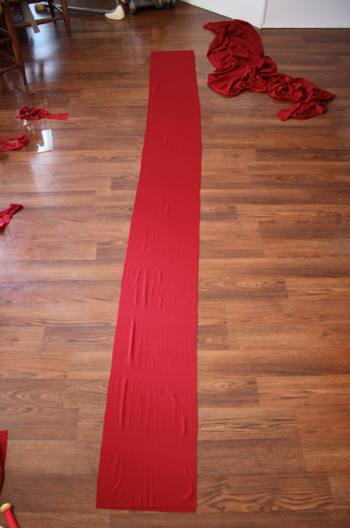
Now for construction. A lot of people call this the 1 seam dress because it’s easy to do at once. I’d recommend doing it in parts, and wish I had.
Open up your circle skirt. If there are sides to your fabric, place the right side up.
Get your straps. They need to be overlapped a little, 3 to 5 inches is average for what I read. I opted for 5″ because I’m quite modest about my chest. So overlap the straps at one end and pin.
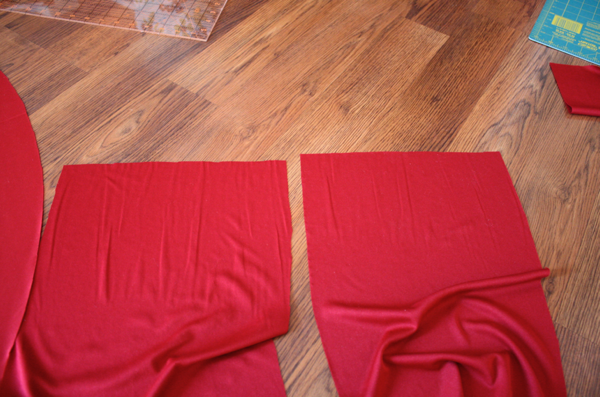
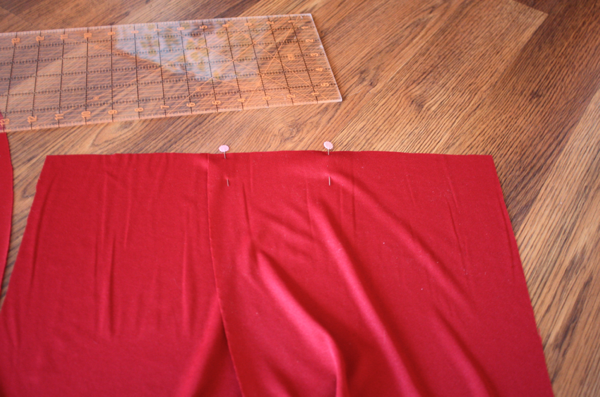
Take them to your skirt, and deciding a middle point, place the middle of the overlapped straps down.
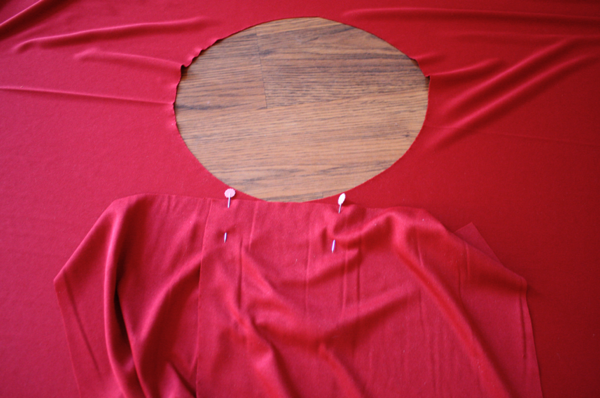
I then pinned the straps from edge to edge.
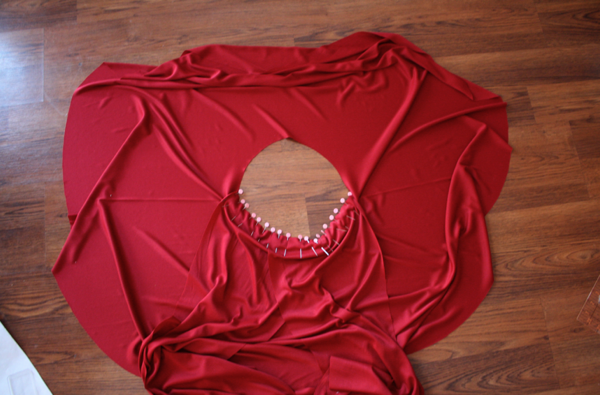
This is where I recommend stopping and starting the sewing. Just sew the straps on then come back. If you’re daring, keep reading to learn how to do it at once. It was just difficult to keep all the layers in the right place.
Take your waistband and fold it in half. Start in the middle of the front of the dress and sew the waistband on, all the way around to the beginning. There should be just a little overlap.
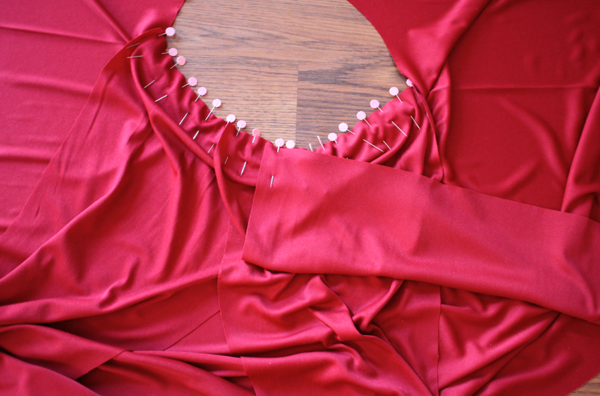
After securing the waistband to the dress, sew around the perimeter again, making sure everything has been included and reinforcing your seams. If you don’t have a serger, do a wide zigzag on your regular machine.
I took the waistband in the front and sewed the pieces together. I guess other people leave it V-shaped, but I wanted a more complete feel to my dress. I used black thread to show where I stitched because this part will never be seen.
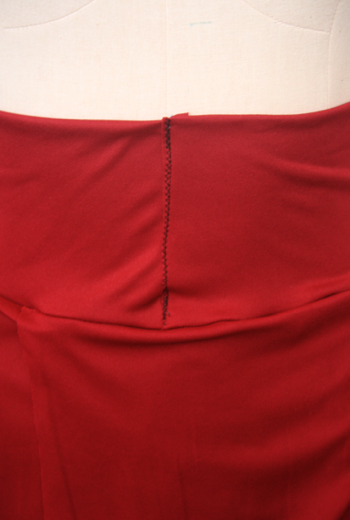
(Please forgive the bunching at the waist. I made this dress to fit me, not my mannequin, and she hasn’t had 2 kids in the last 3 years!)
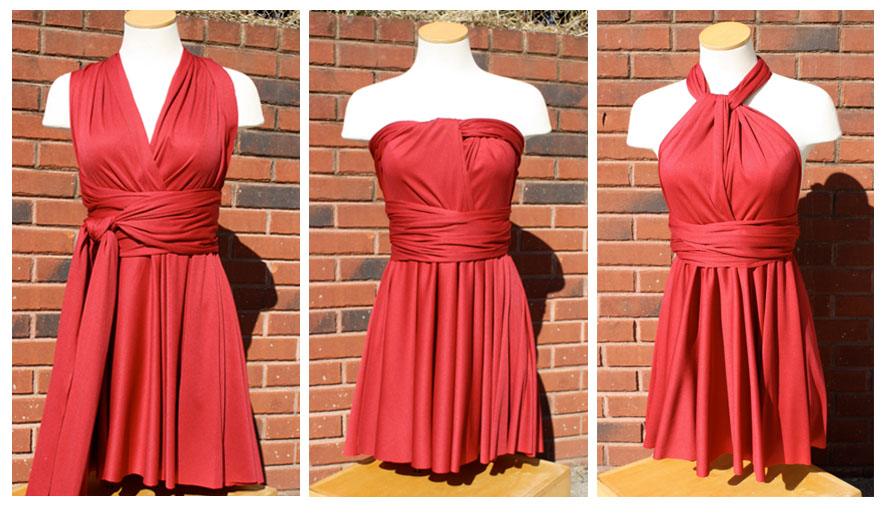
So this is what the completed dress looks like:
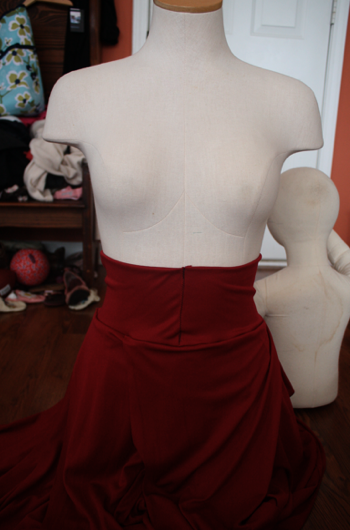
Then when you start wrapping it, you put it up over your bust one strap at a time.
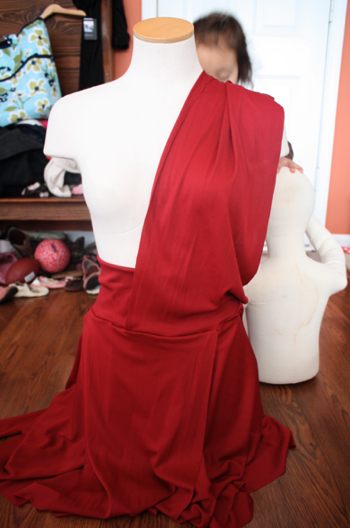
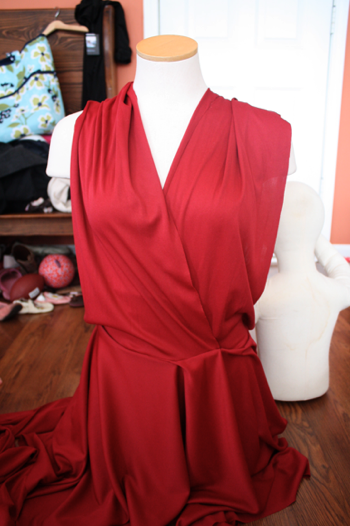
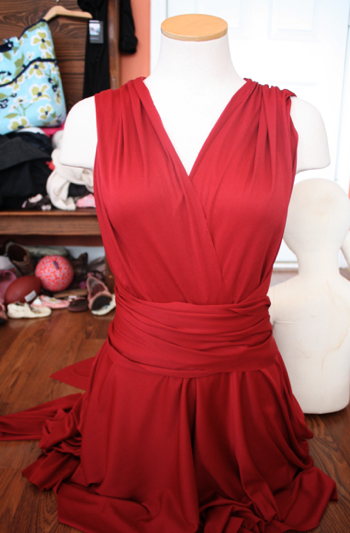
To learn to tie it, I spent a lot of time on YouTube watching videos. There are a ton of them out there and they’re all super helpful.

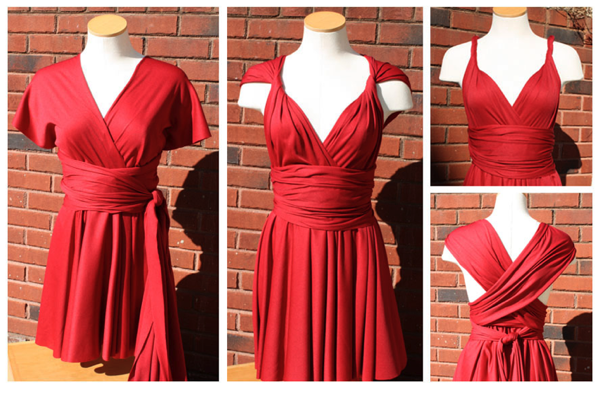
Source: sewlikemymom.com


0 nhận xét:
Đăng nhận xét