Crafts for home decor: MAKE A JERSEY KNIT SHAG PILLOW sewing tutorial
what you will need:
*1 yard (to be safe in case of mess ups) of jersey fabric with the width of 60″ (jersey comes in a bolt length of anywhere from 42″ to 62″ or even wider…but the most common i’ve found is 58″ to 60″) I ENDED UP GETTING 2 YARDS OF BLACK AND 1 YARD OF TURQUOISE SO I COULD MAKE MORE THAN ONE.
*2 squares of cotton fabric close in matching color to your jersey fabric cut to 11″ x 15″ (if you make a slightly larger pillow you will still be okay because you will have a little extra fabric)
cut from jersey fabric 19 strips at 1 1/2″ each.
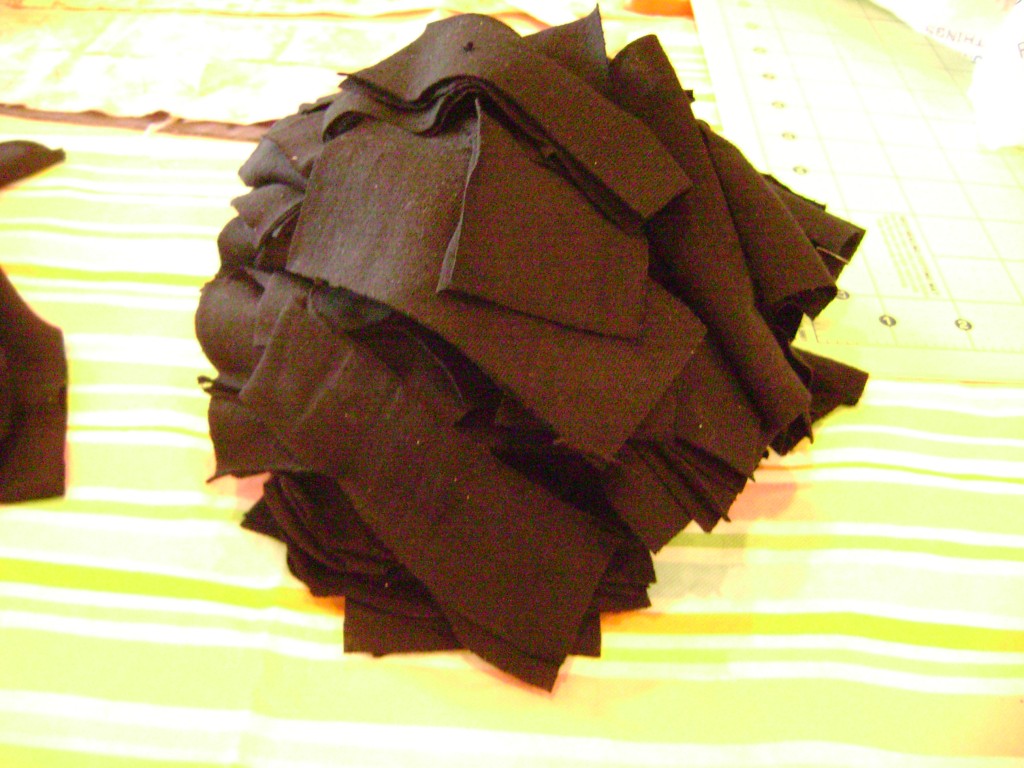
*from each of the 19 strips cut 15: 4″ length rectangles. (you should be able to get 15, but if your fabric is wonky, and you get less than 15 it’s okay because remember you have extra fabric.) I ended up cutting more strips to make my pillow a bit fuller.
now take your two cotton rectangles cut to 11″ x 15″ on 1 of the right sides of your fabric, draw 3/4″ lines all the way across your rectangle. (you should get 19 lines) I believe my lines were a little off on this too I think I only ended up with 18 but it is okay because the pillow still turned out darling! set the other piece of fabric aside as this will be the back of your pillow
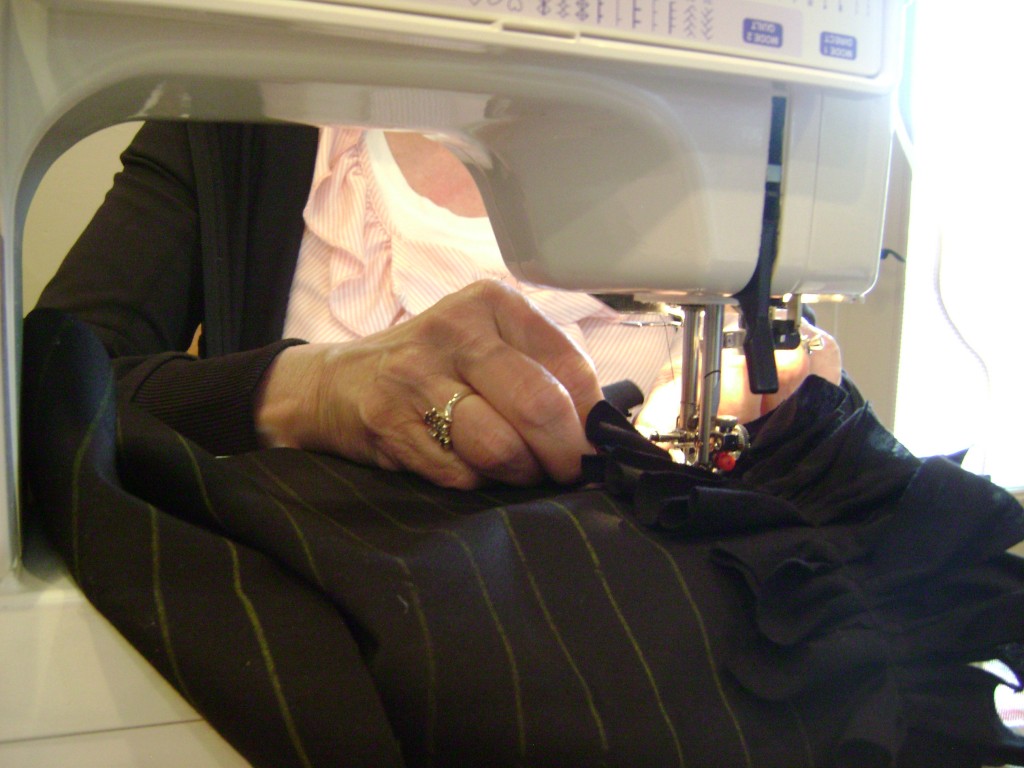
next take one of your jersey rectangles, and measure at least 1/4″ down from the top of your pillow fabric, and start sewing a straight line using your drawn line on your fabric as your guide to place your jersey fabric strips. as each strip is placed on the line scrunch it a bit while sewing it into place, continue adding strips one after another until you have a full line full of jersey.

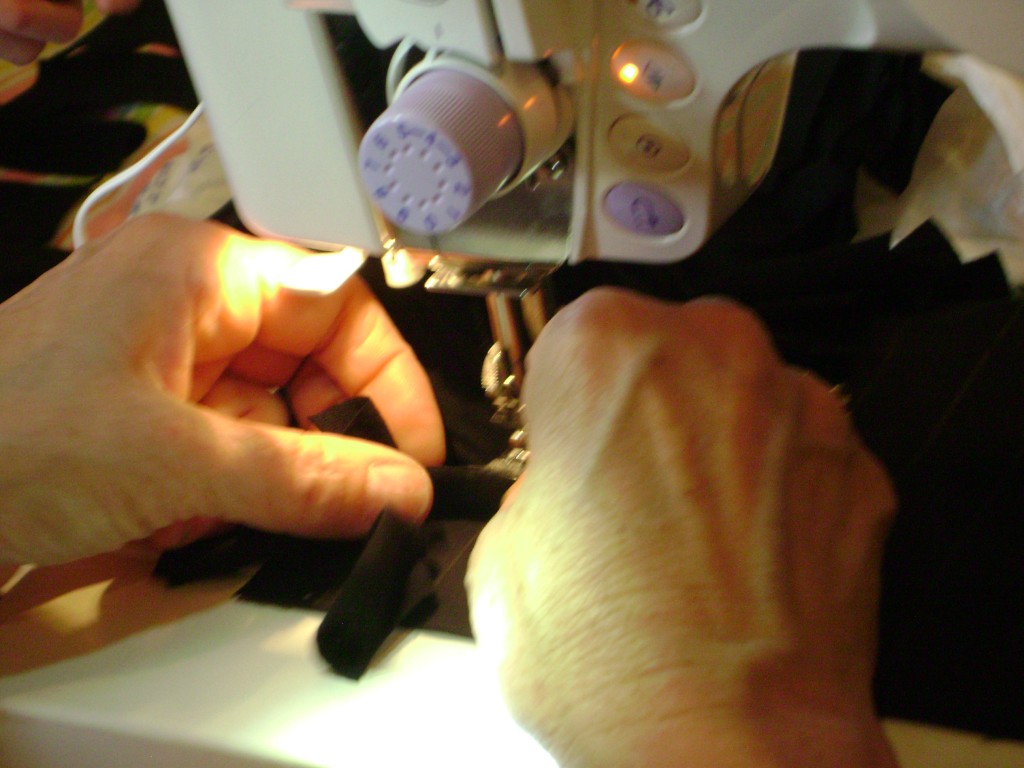
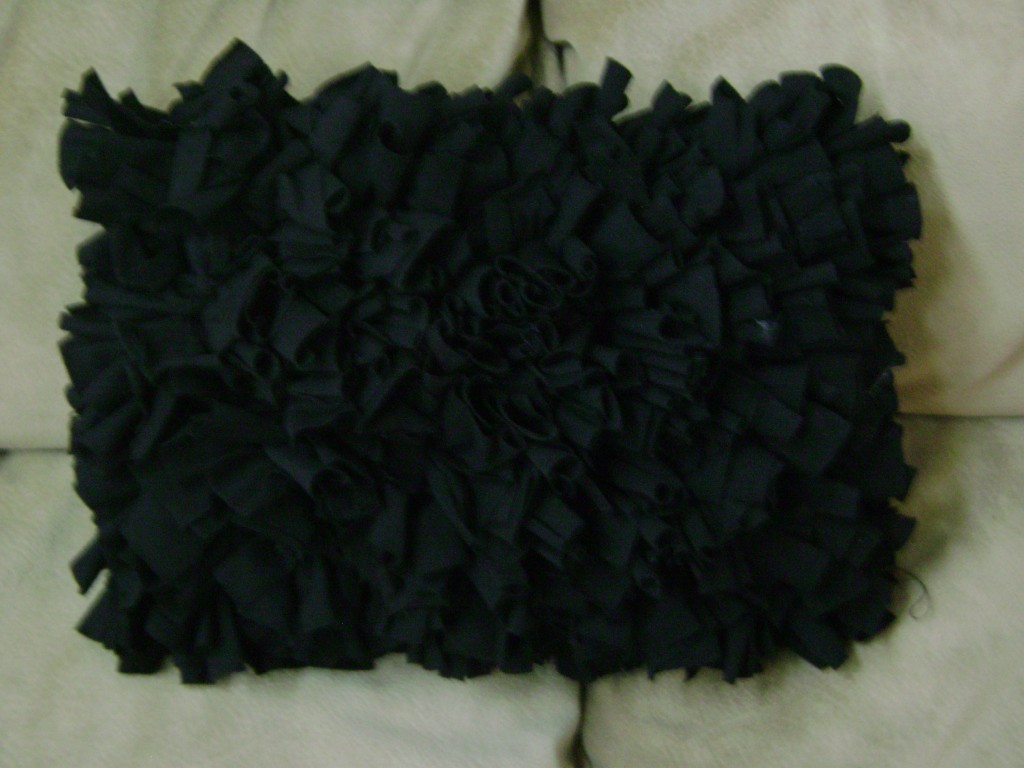
Continue on until each row is full and it looks like a shag pillow. Once done take your two cotton rectangles line them up and sew around all 4 sides. (inside out of course) leaving a small opening to fill the pillow with stuffing. Once done turn the pillow so the right sides are facing out and stuff away!

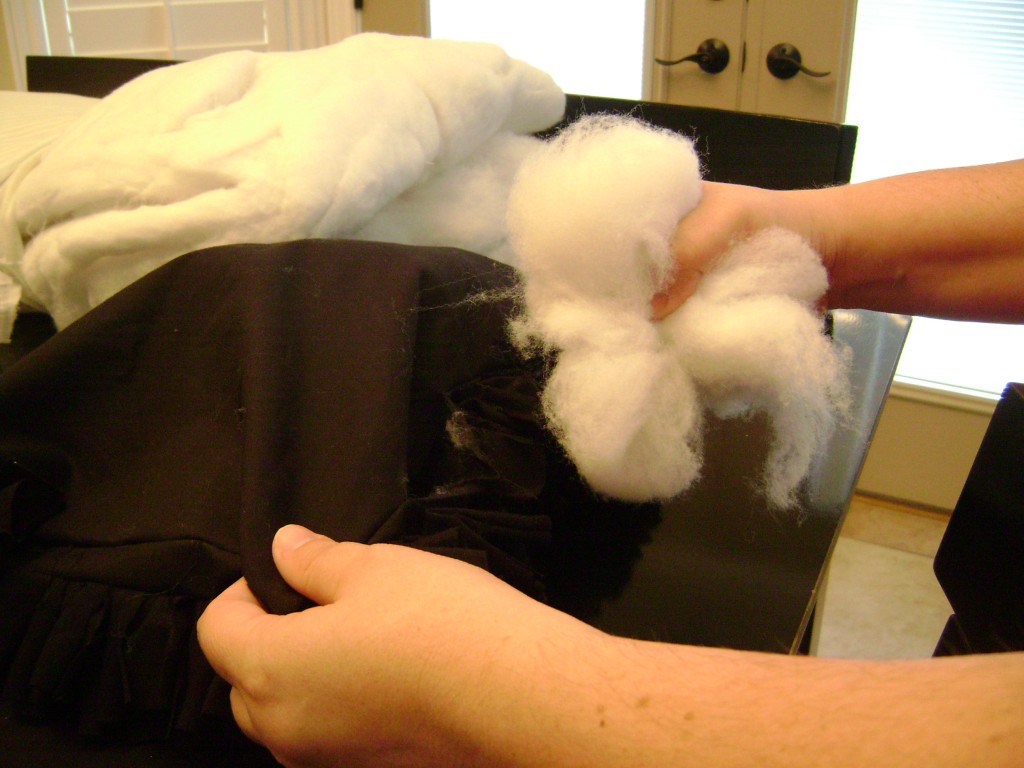
Hand stitch your opening closed. I know my tutorial isn’t that great but go visit Vanessa’s blog and you will see how detailed she is! I am in LOVE with my pillows and they cost a total of $12.00 for 2 of them.



0 nhận xét:
Đăng nhận xét